How to Add Facebook Retargeting to Your WordPress Site


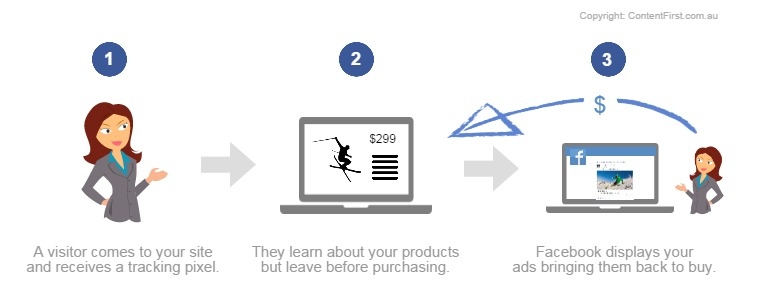
Many times, you might have noticed ads on Facebook eerily similar to the website you just visited. In fact, they are mostly the exact product or service you had been searching for. This is no coincidence. And if you are wondering how and why this happens, the answer lies in ‘Facebook Retargeting Pixel‘.
The websites that you visit are equipped with a Facebook Ads Manager tool that performs a popular type of marketing called retargeting.
Since Facebook has a base of 1.71 billion users, natural marketers considered it to be the best platform for advertising. It allows them to provide maximum exposure to their products and services to a huge audience, which otherwise could cost them a fortune.
The tool informs about Facebook accounts whose visit your website, allowing it to identify and track your traffic. It uses this information to display your ads to these particular visitors whenever they login to their Facebook account.

Facebook Retargeting for WordPress
There are several benefits of using Facebook Retargeting for your WP website. The most significant and desirable one being that it provides you a chance to convert a visitor into a subscriber or customer by displaying your offering in the form of Facebook ads. Other benefits include:
- It enables you to funnel more traffic to your WordPress website
- It provides you with more opportunities to convert a lead into customer
- It is helpful for both large and small businesses
- You get insight into what your visitors are looking for, allowing you to design your ads accordingly and increase the number of conversions.
How to Create a Facebook Retargeting Pixel
Here is a step-by-step guide for creating a Facebook retargeting pixel and using it on your WordPress website.
- Login to your Facebook account and go to Ads Manager. Now navigate to Tools and look for Pixels.
![]()
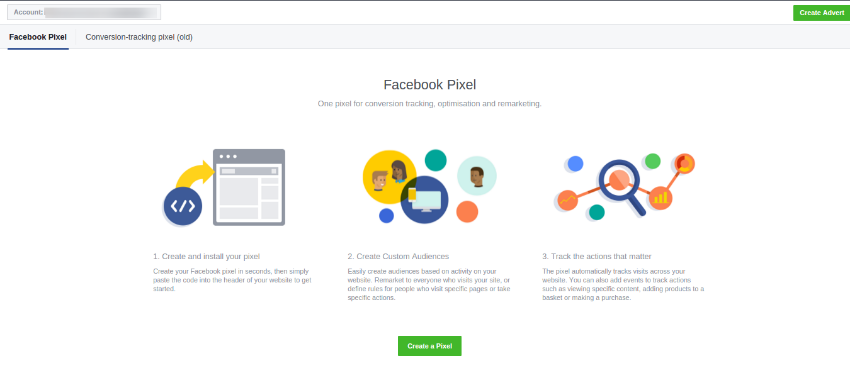
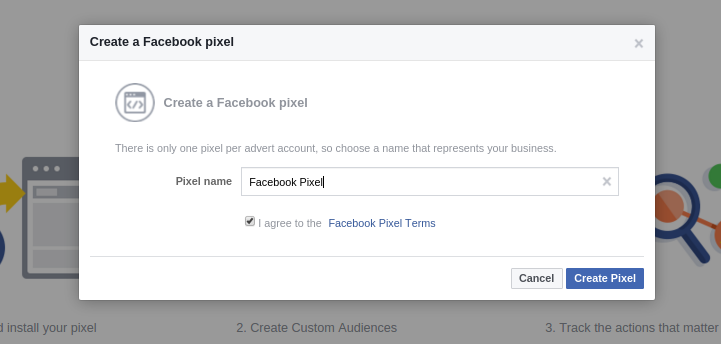
- Click on it to create a Facebook Pixel. A popup will appear, asking you to enter the name of your pixel. You can either choose your product or business name. Click on the create button to continue.
- You will be given a unique pixel ID, along with a success message. Click on “Install Pixel Now”, and start the installation process.
![]()
- Facebook will generate a unique Pixel code that you’ll need when installing this tool on your WP website. Copy the code and paste into a text document. With this, you have successfully created your Facebook pixel.
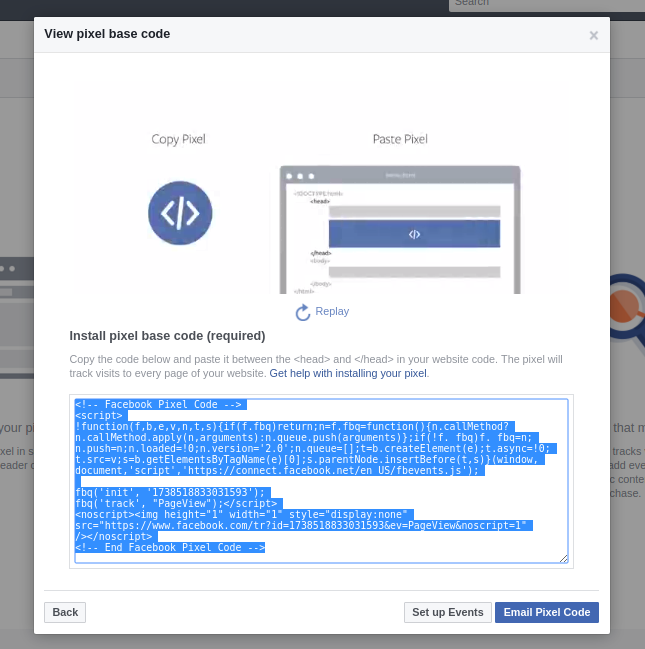
- Now go to your WP website. Enter this code before the </head> in the WP theme.

- An easy way to deal with the above step is to use the Insert Headers and Footers plugin. Once you have installed and activated this plugin, go to Settings, and click on Insert Headers and Footers page.
- Now paste the Facebook Pixel code you had saved into the header section, and then click on Save.
And that’s it. Now you can reap many benefits of Facebook Retargeting Pixel on your WP website. Don’t forget to comment in the section below if the step-by-step tutorial helped you, and if you have any query, feel free to fire away!
That’s not all. You can integrate facebook comments to your WordPress in order to create engagements on your website. Learn how to do it by reading this article on our Cloudways blog page.
Thank you for your time, please feel free to leave a comment below.